Your cart
Your cart is empty
Continue shopping

Drawer menu

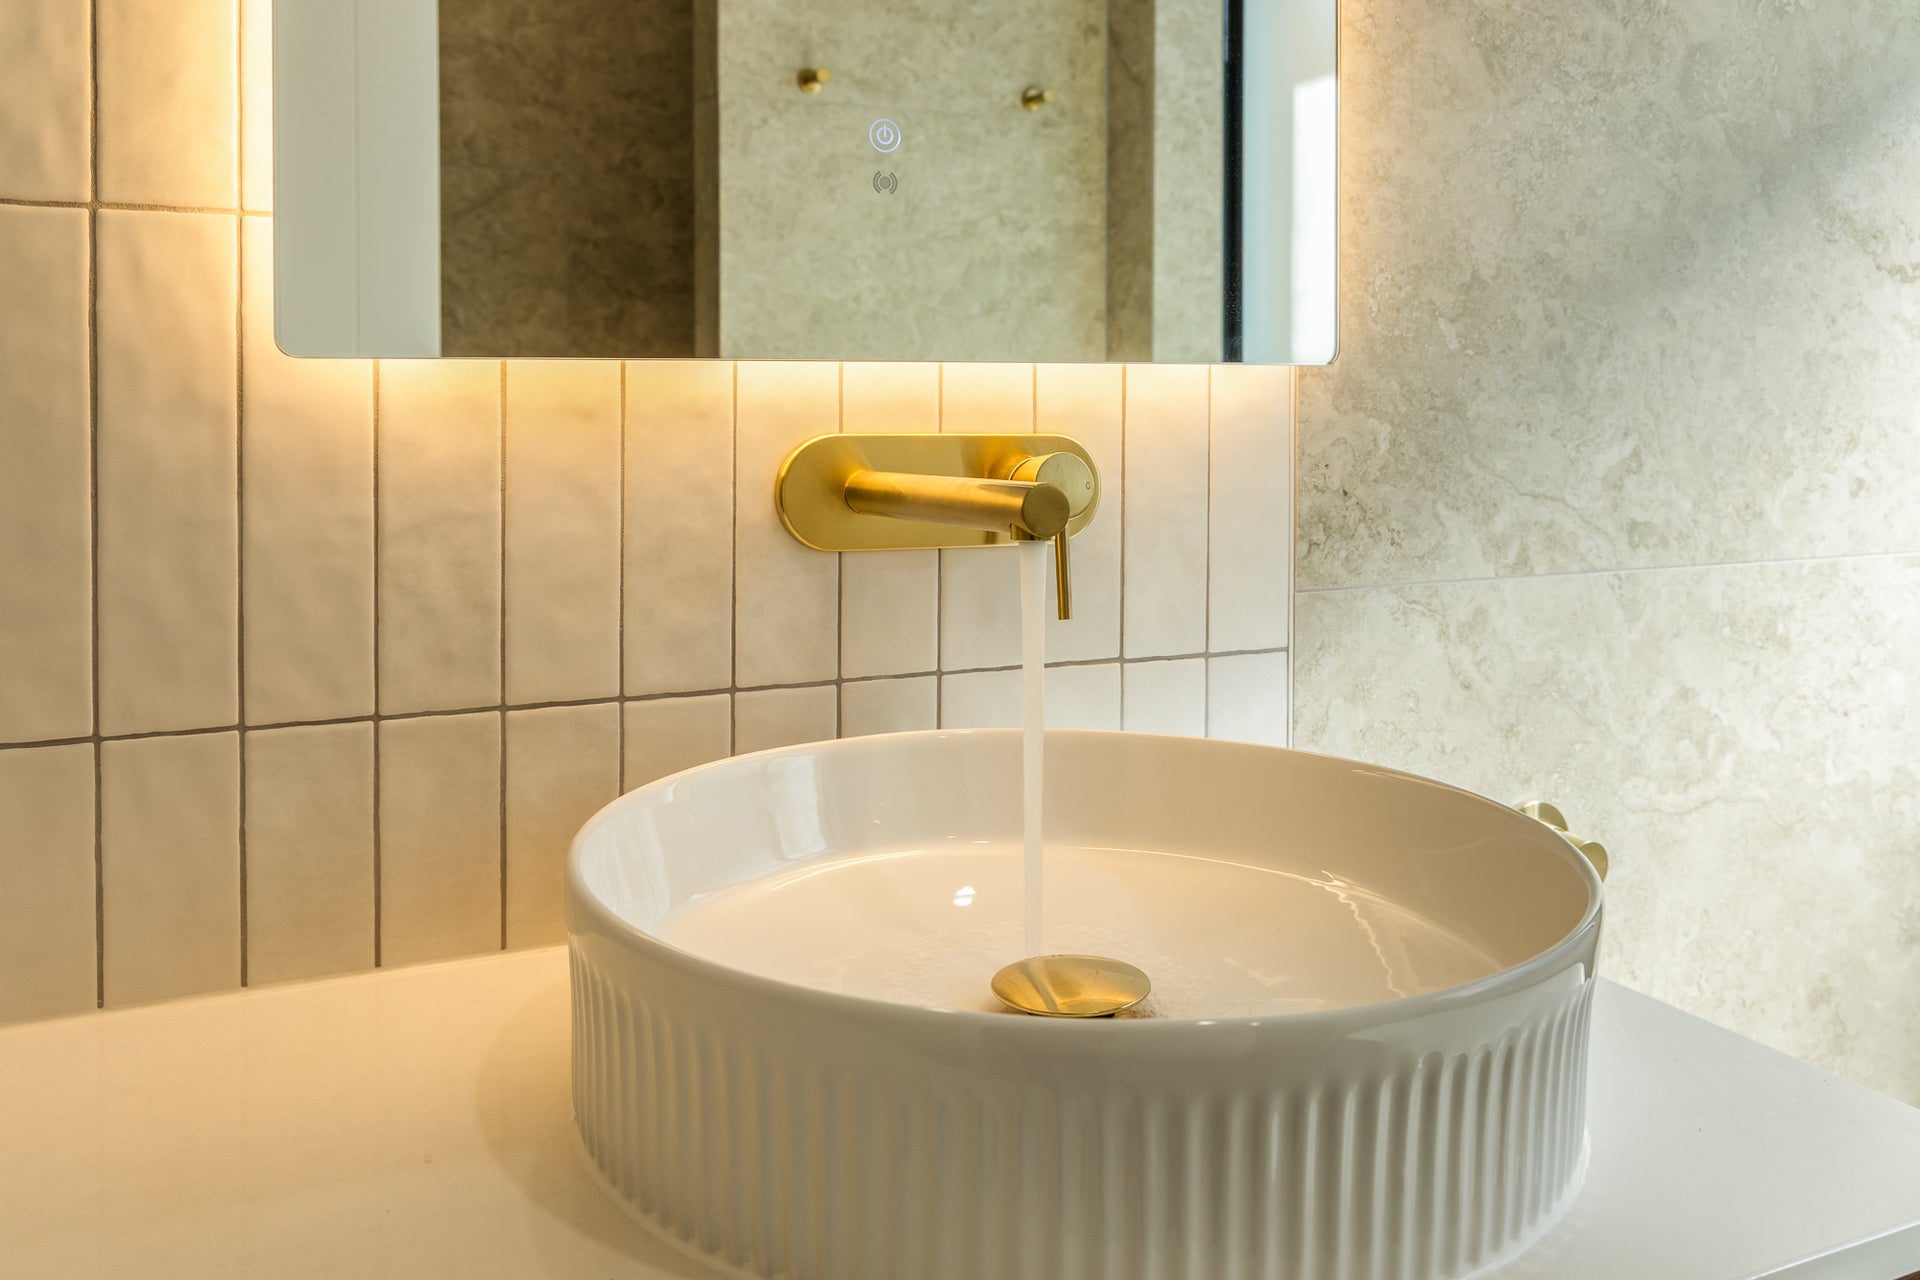
Subway tiles originated in the early 1900s when they were placed in the New York’s underground train stations. People were inspired and began using them in their homes, adding it to their kitchens and bathrooms. The original size is 75mm x 150mm, but today most small, rectangular tiles are categorised as subway tiles.
We recommend subway tiles as they are versatile and look great in nearly every home and can be laid in interesting ways to give you a beautiful feature tile at a great price point. With that in mind, here we will take you through 12 ways you can lay your subway tiles.
The original subway pattern. Tiles are laid like bricks, with each row offset from the one above. It's timeless, balanced, and endlessly adaptable — especially when paired with colour contrast or bold grout lines. A true classic that never dates.

An enduring favourite. Diagonally placed tiles create a zigzag pattern that’s full of movement and visual interest. It’s a timeless option that brings elegance and texture, whether used across an entire wall or as a smaller feature.
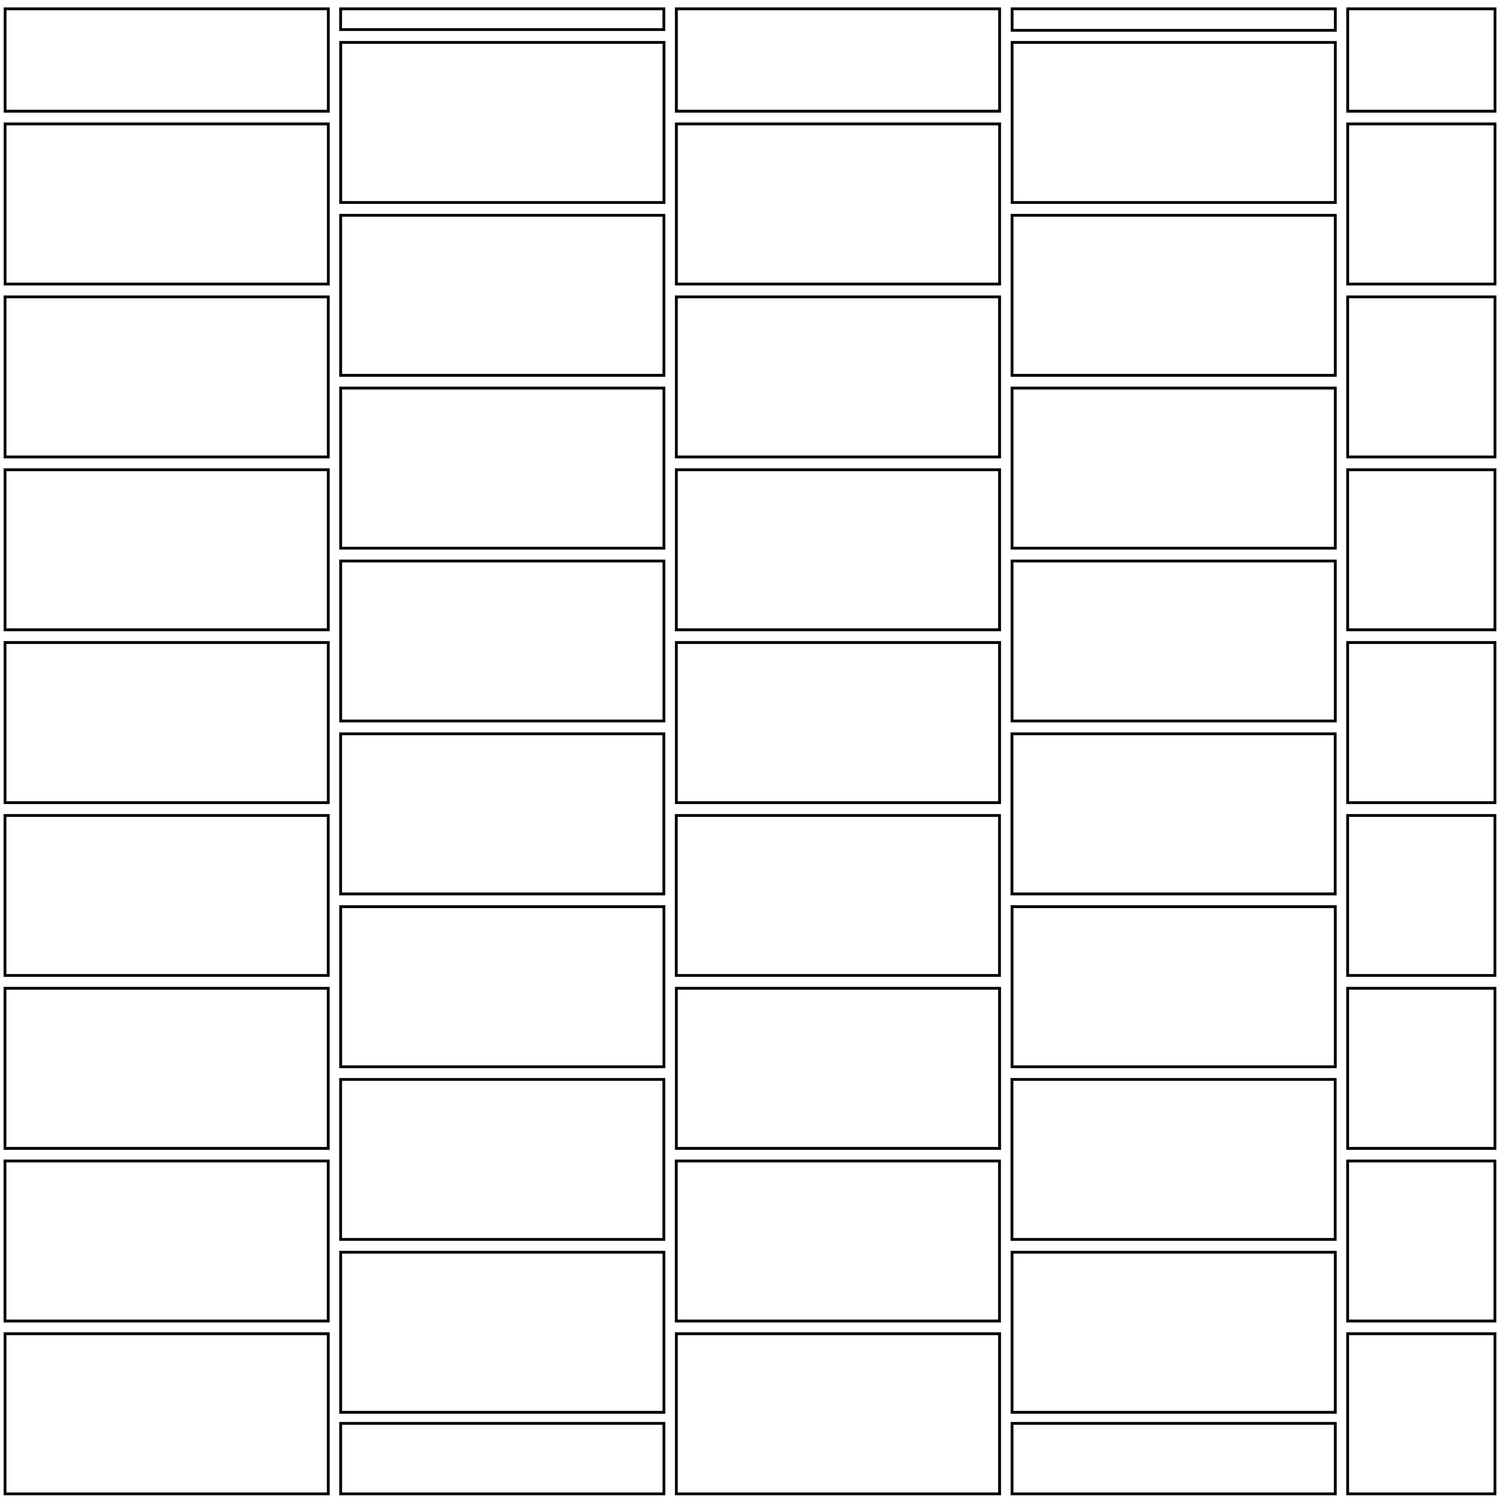
Reminiscent of stepping stones or a gentle stair-step, this unique layout alternates horizontal tile placements in a rhythmic climb. It's unexpected, graphic, and a real showstopper in shower niches or splashbacks. A bold layout that adds subtle motion and architectural character.
A horizontal stacked layout rotated 90 degrees, this design maintains the clean lines of a stacked pattern while adding vertical energy. A subtle twist that brings a fresh take to traditional settings - enlarging the look of the room in a classic twist.
A fresh twist on the traditional herringbone, this layout is rotated 90 degrees to run vertically. Perfect for tall spaces like showers, it creates upward movement and adds dimension without overwhelming the eye. The vertical orientation draws attention upward, making the space feel more open and dynamic.
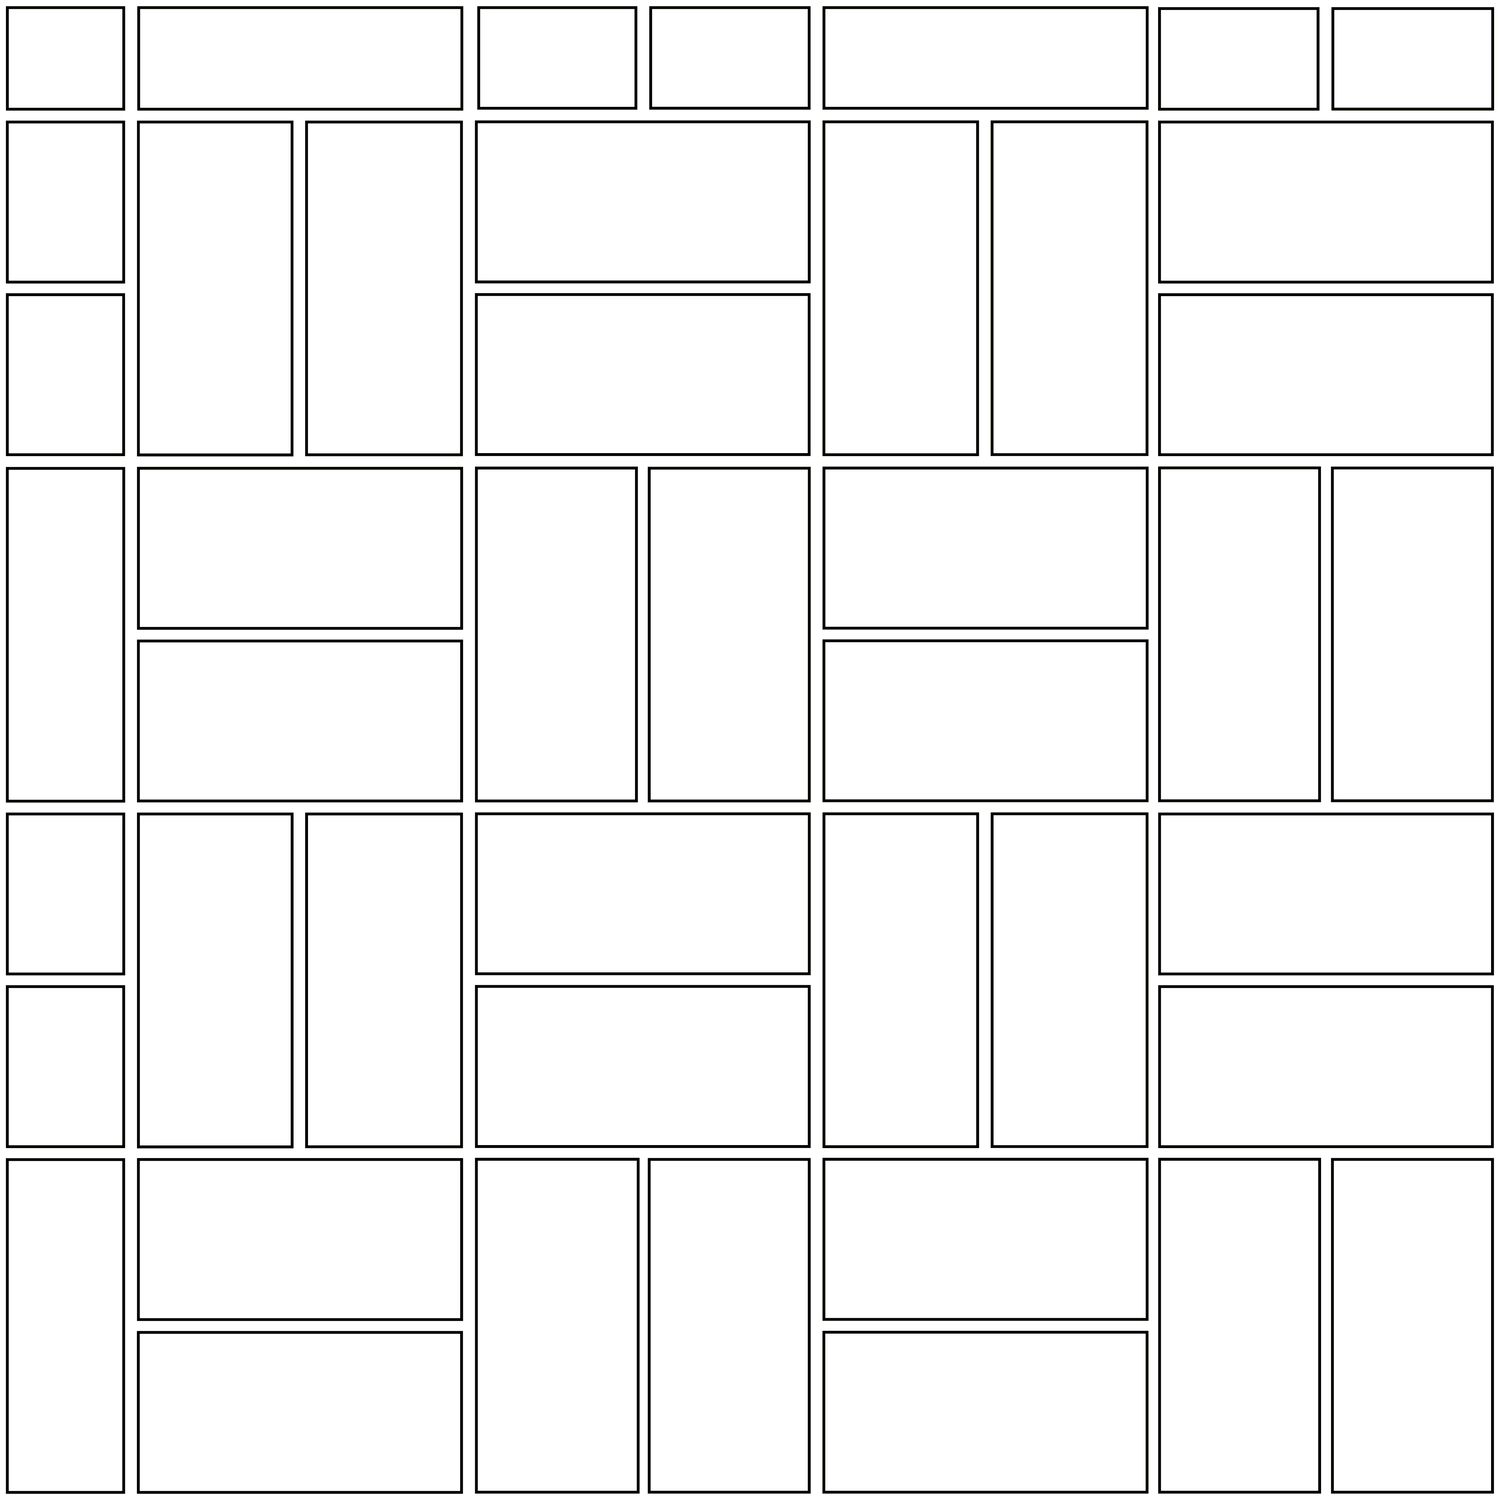
By alternating two vertical tiles with two horizontal ones, this pattern creates a repeating square motif with geometric appeal. It balances boldness with symmetry, perfect for those wanting a structured but eye-catching design.
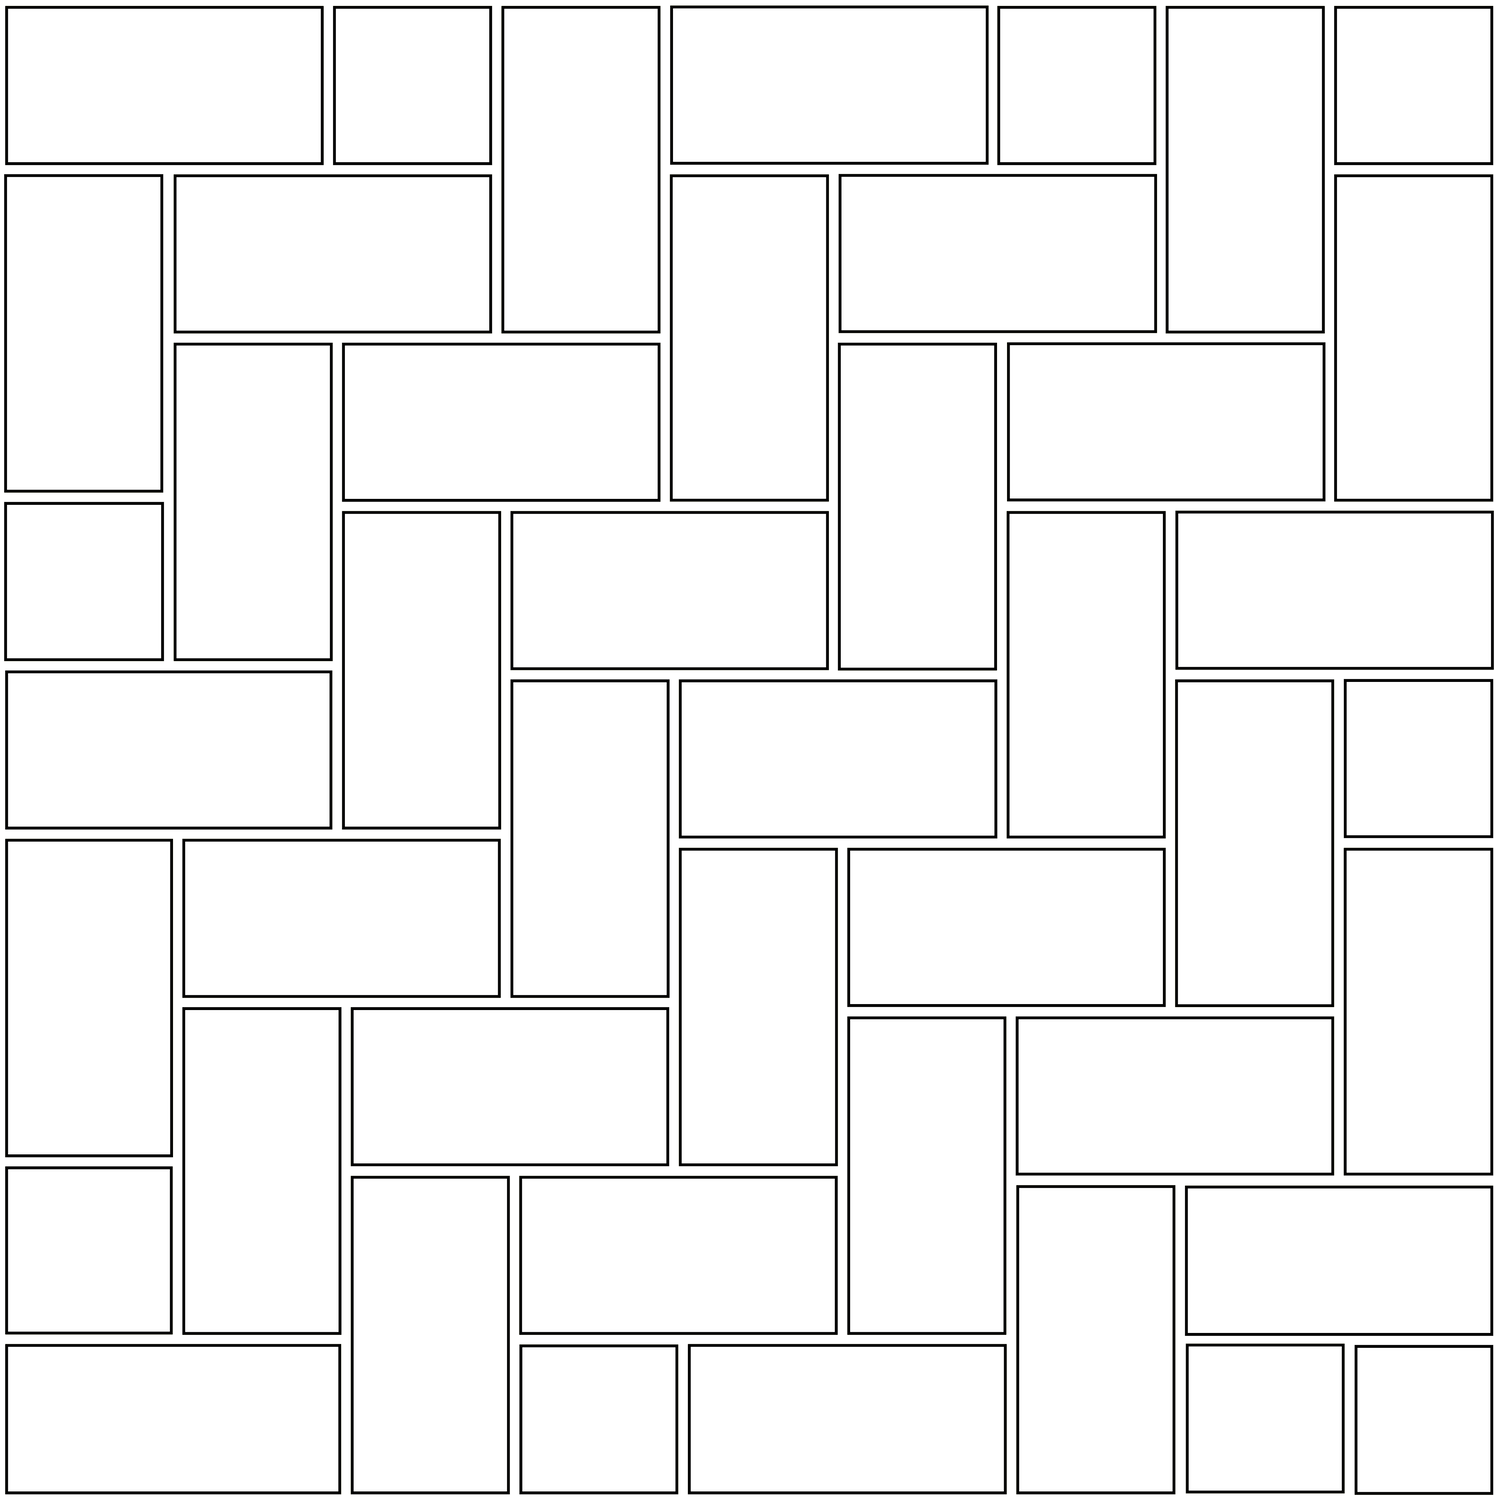
A simple 45-degree rotation of the Offset Brick layout gives the classic pattern new life. This angled take adds surprise and dimension, especially in kitchens and laundries, helping to expand the space visually while maintaining a familiar rhythm.
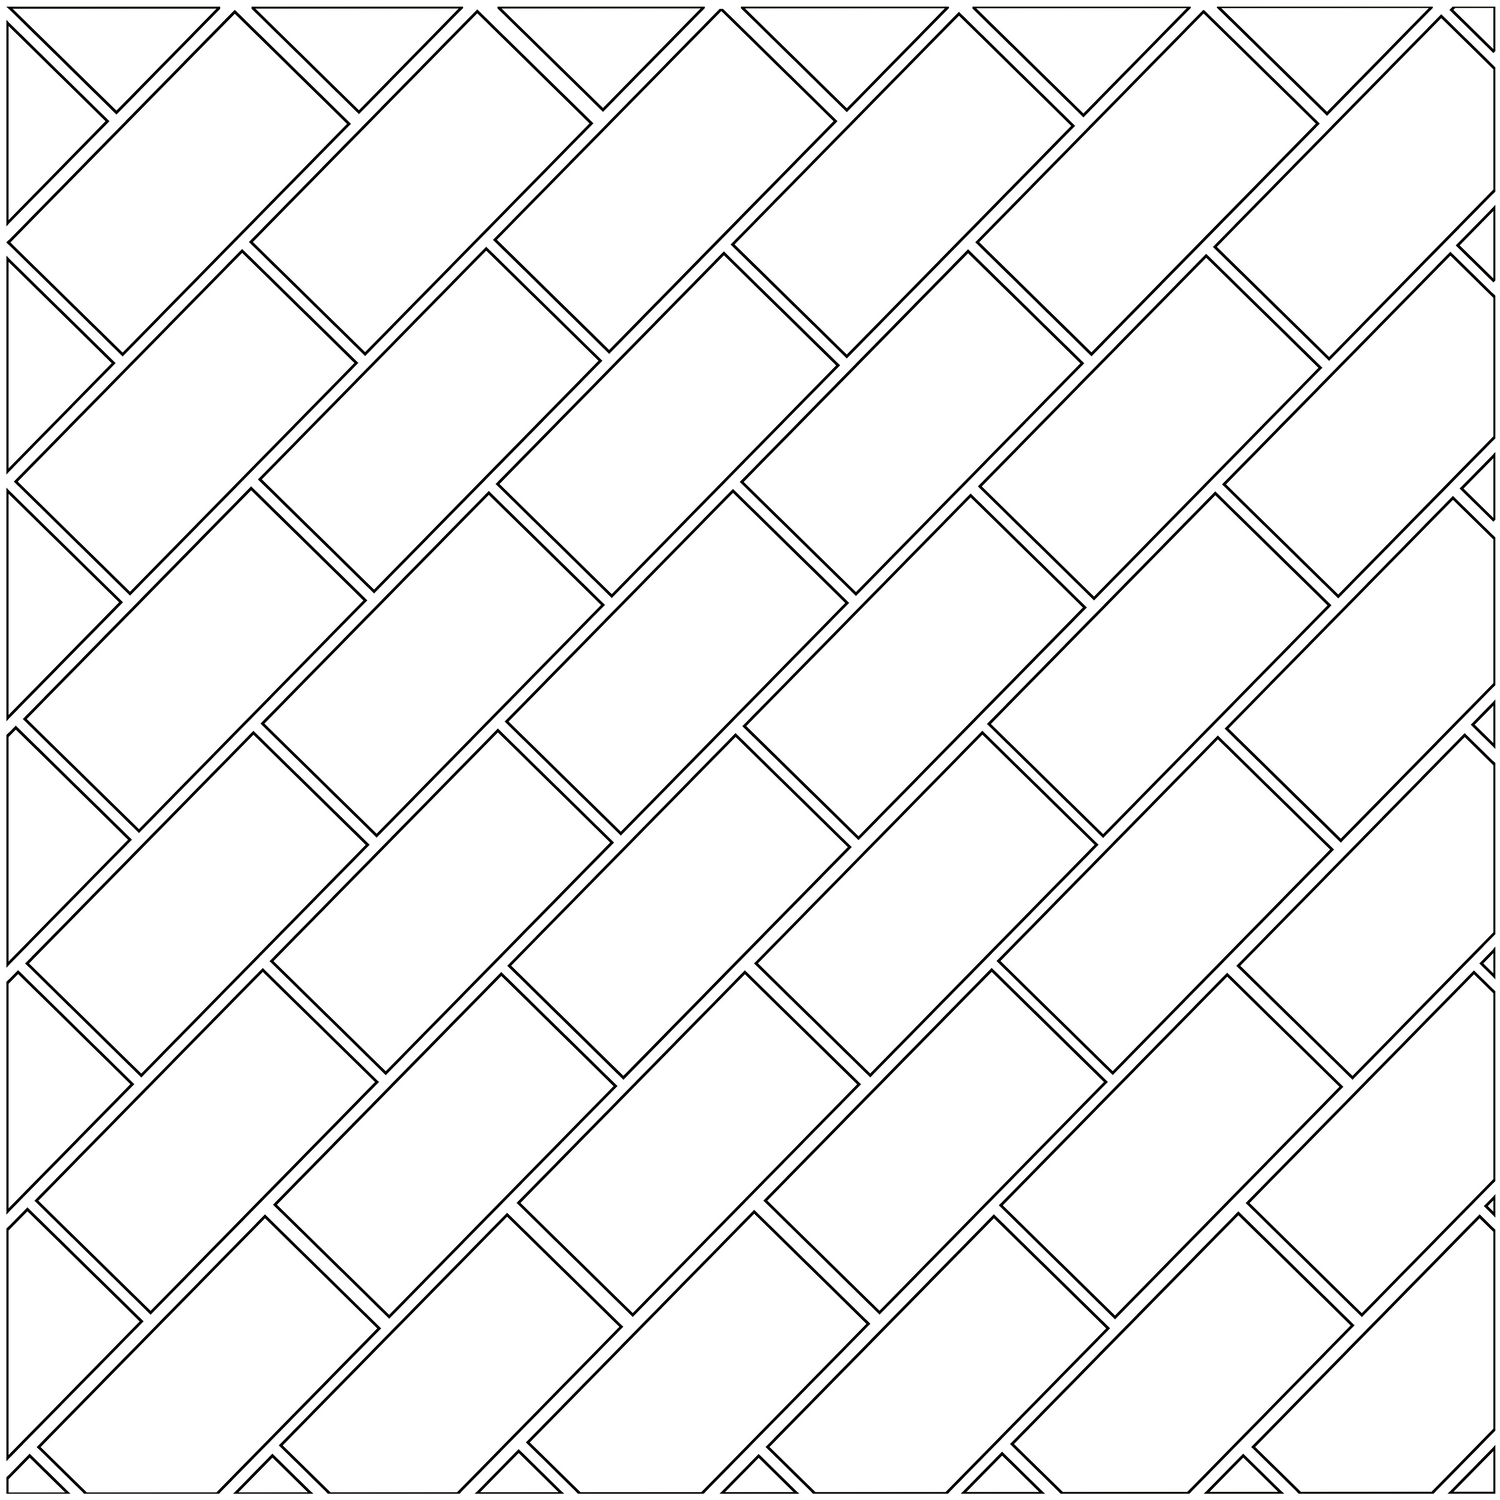
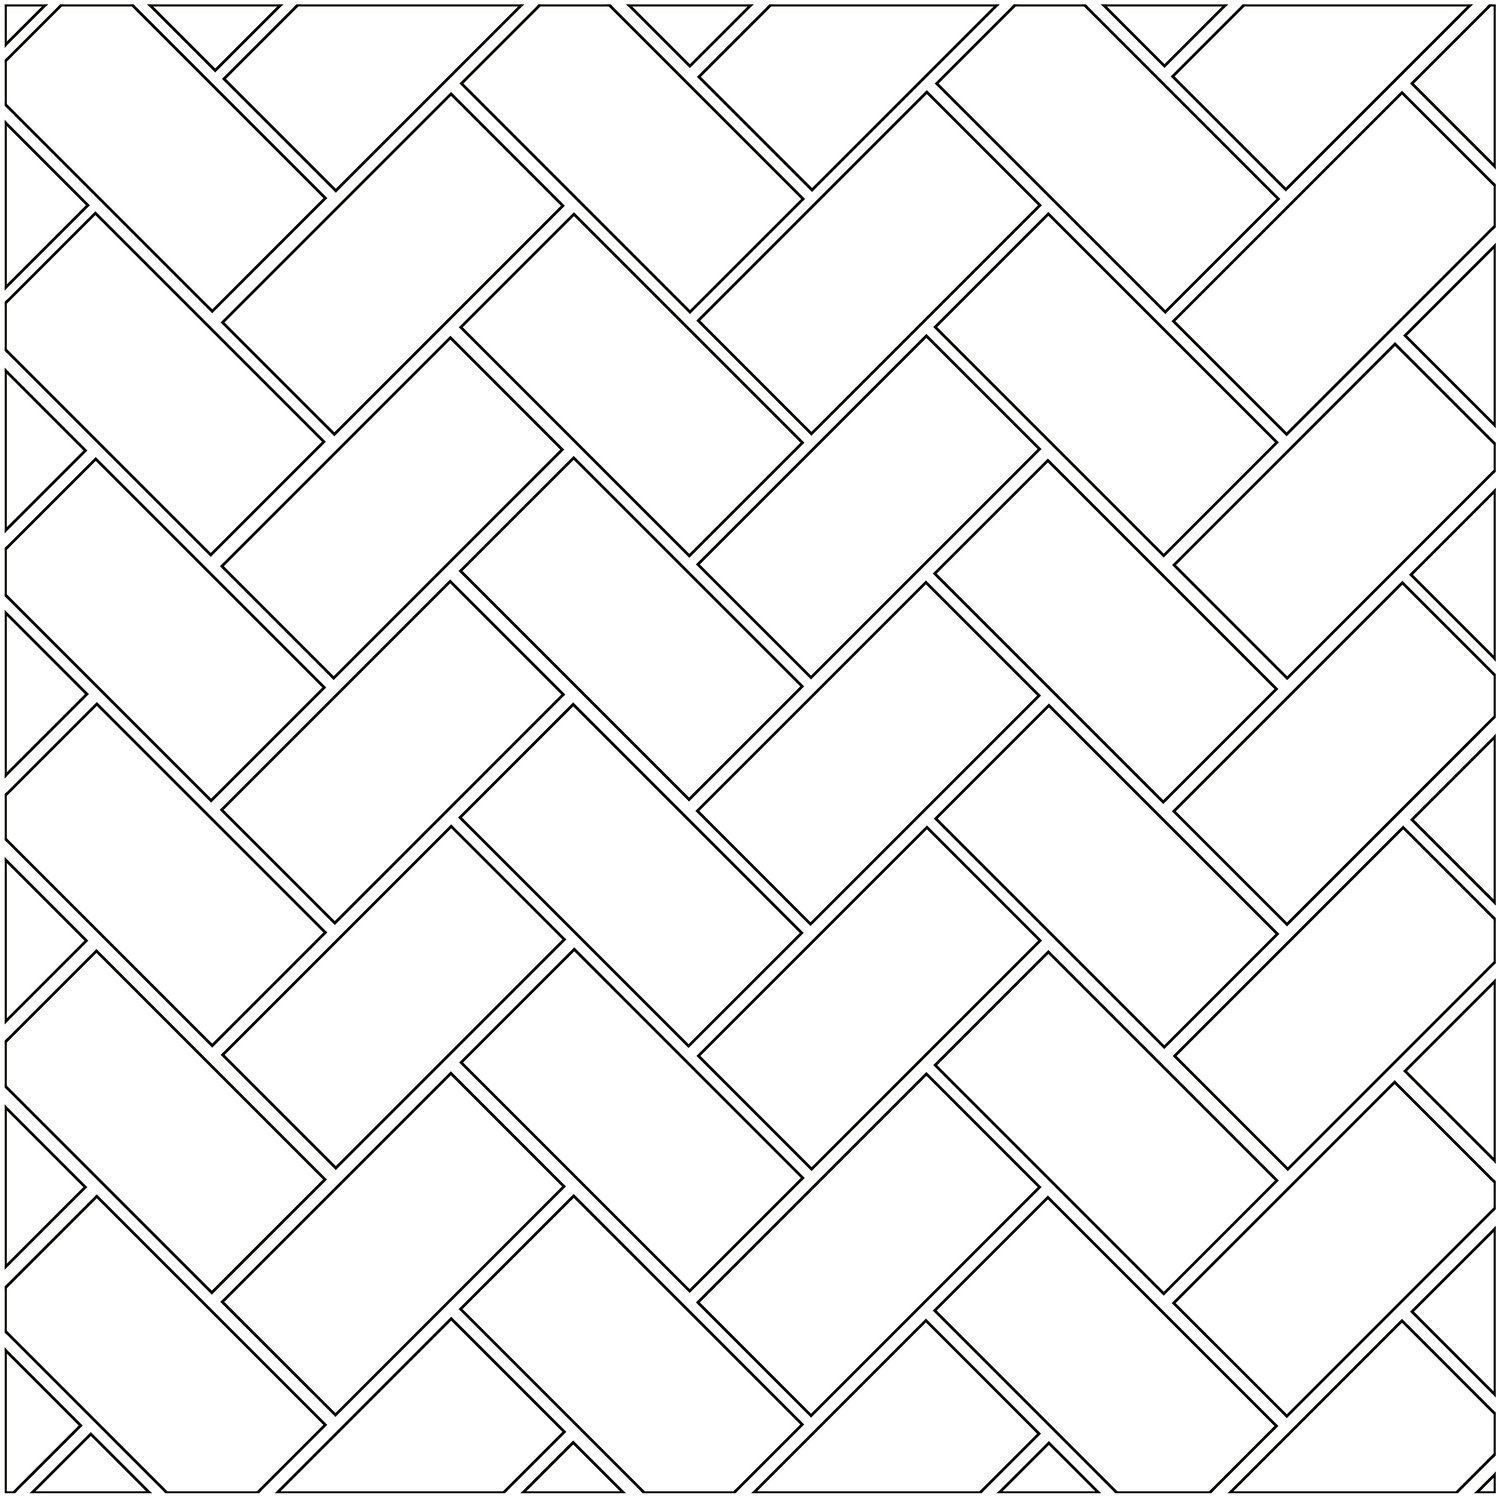
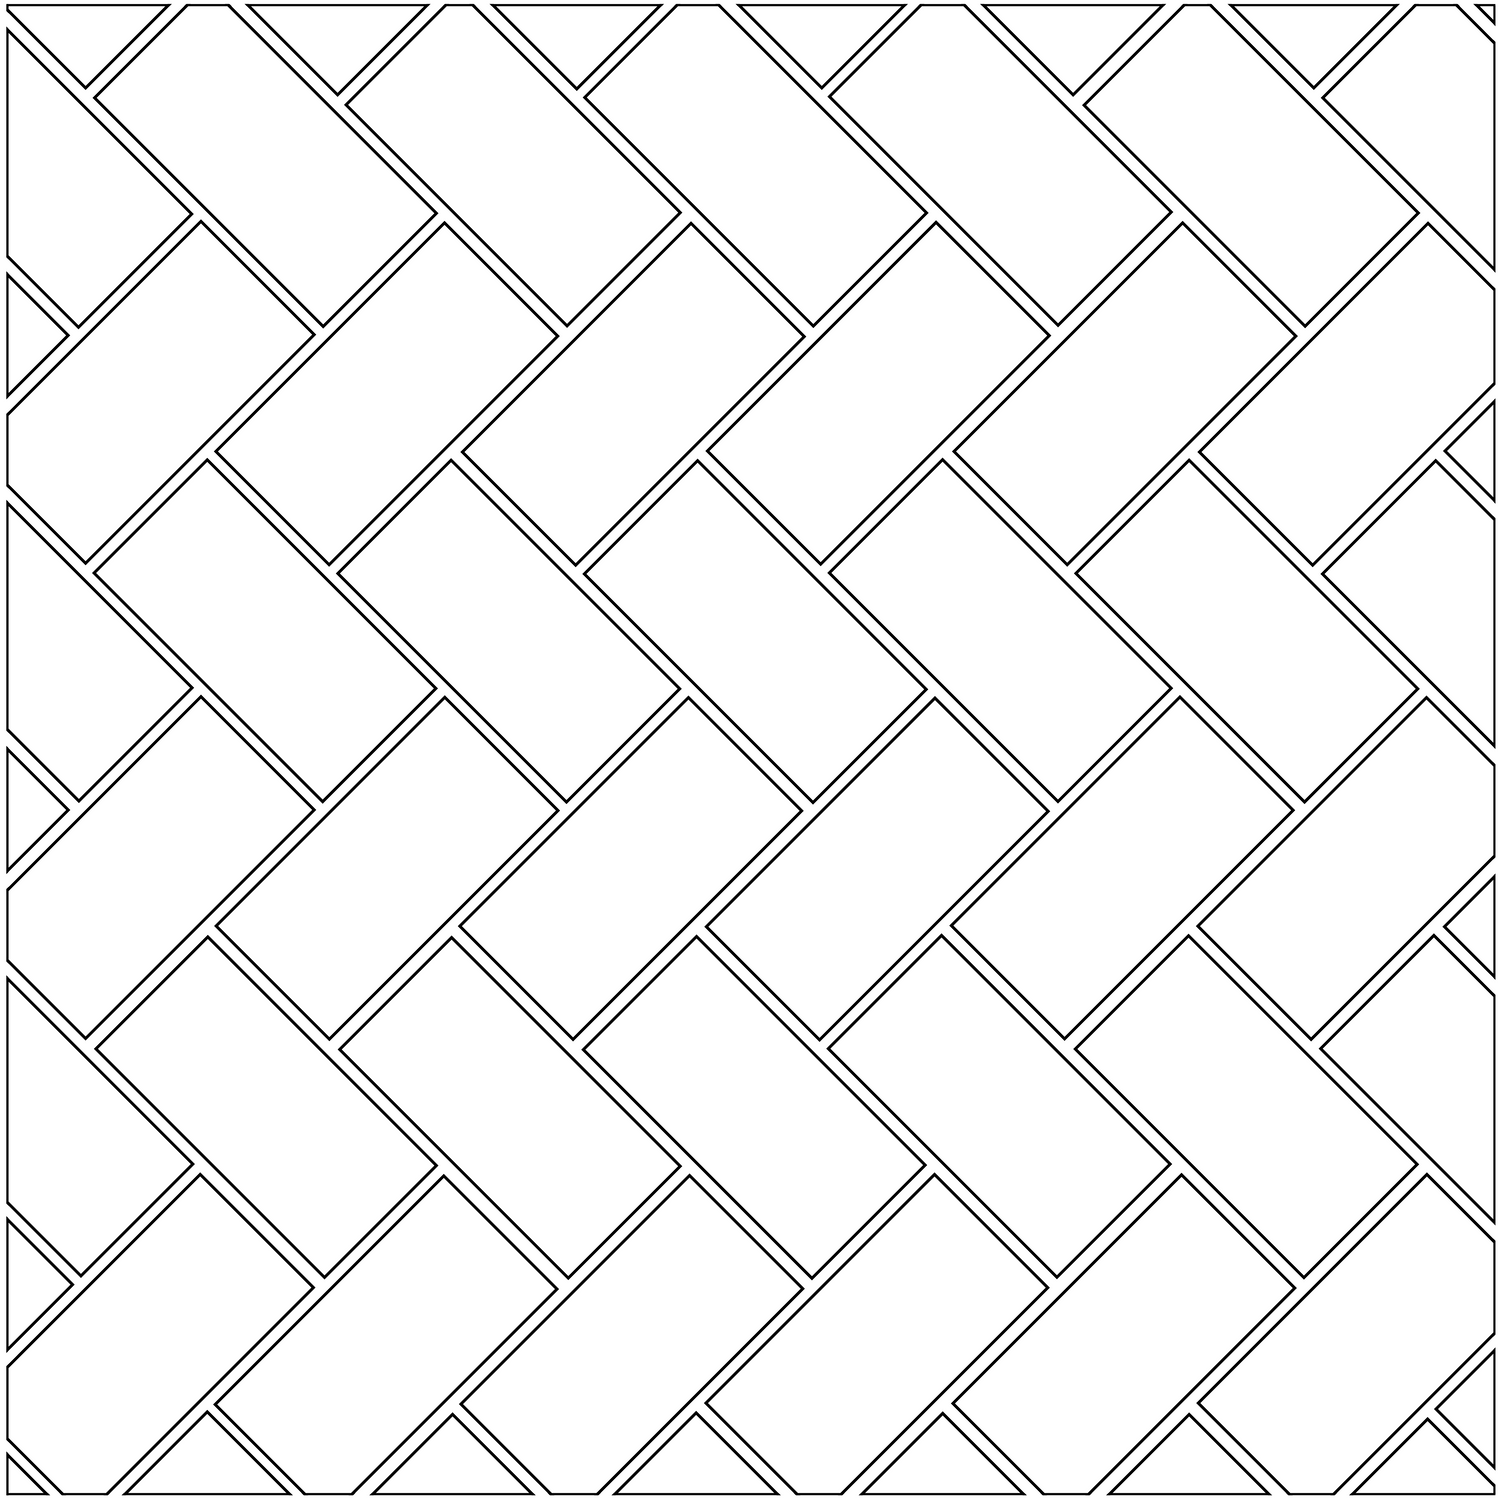
A classic herringbone rotated 45 degrees to create diagonal movement across a wall. This angled approach enhances flow and depth, making it ideal for small rooms or focal points where you want to guide the eye and add a layer of sophistication.
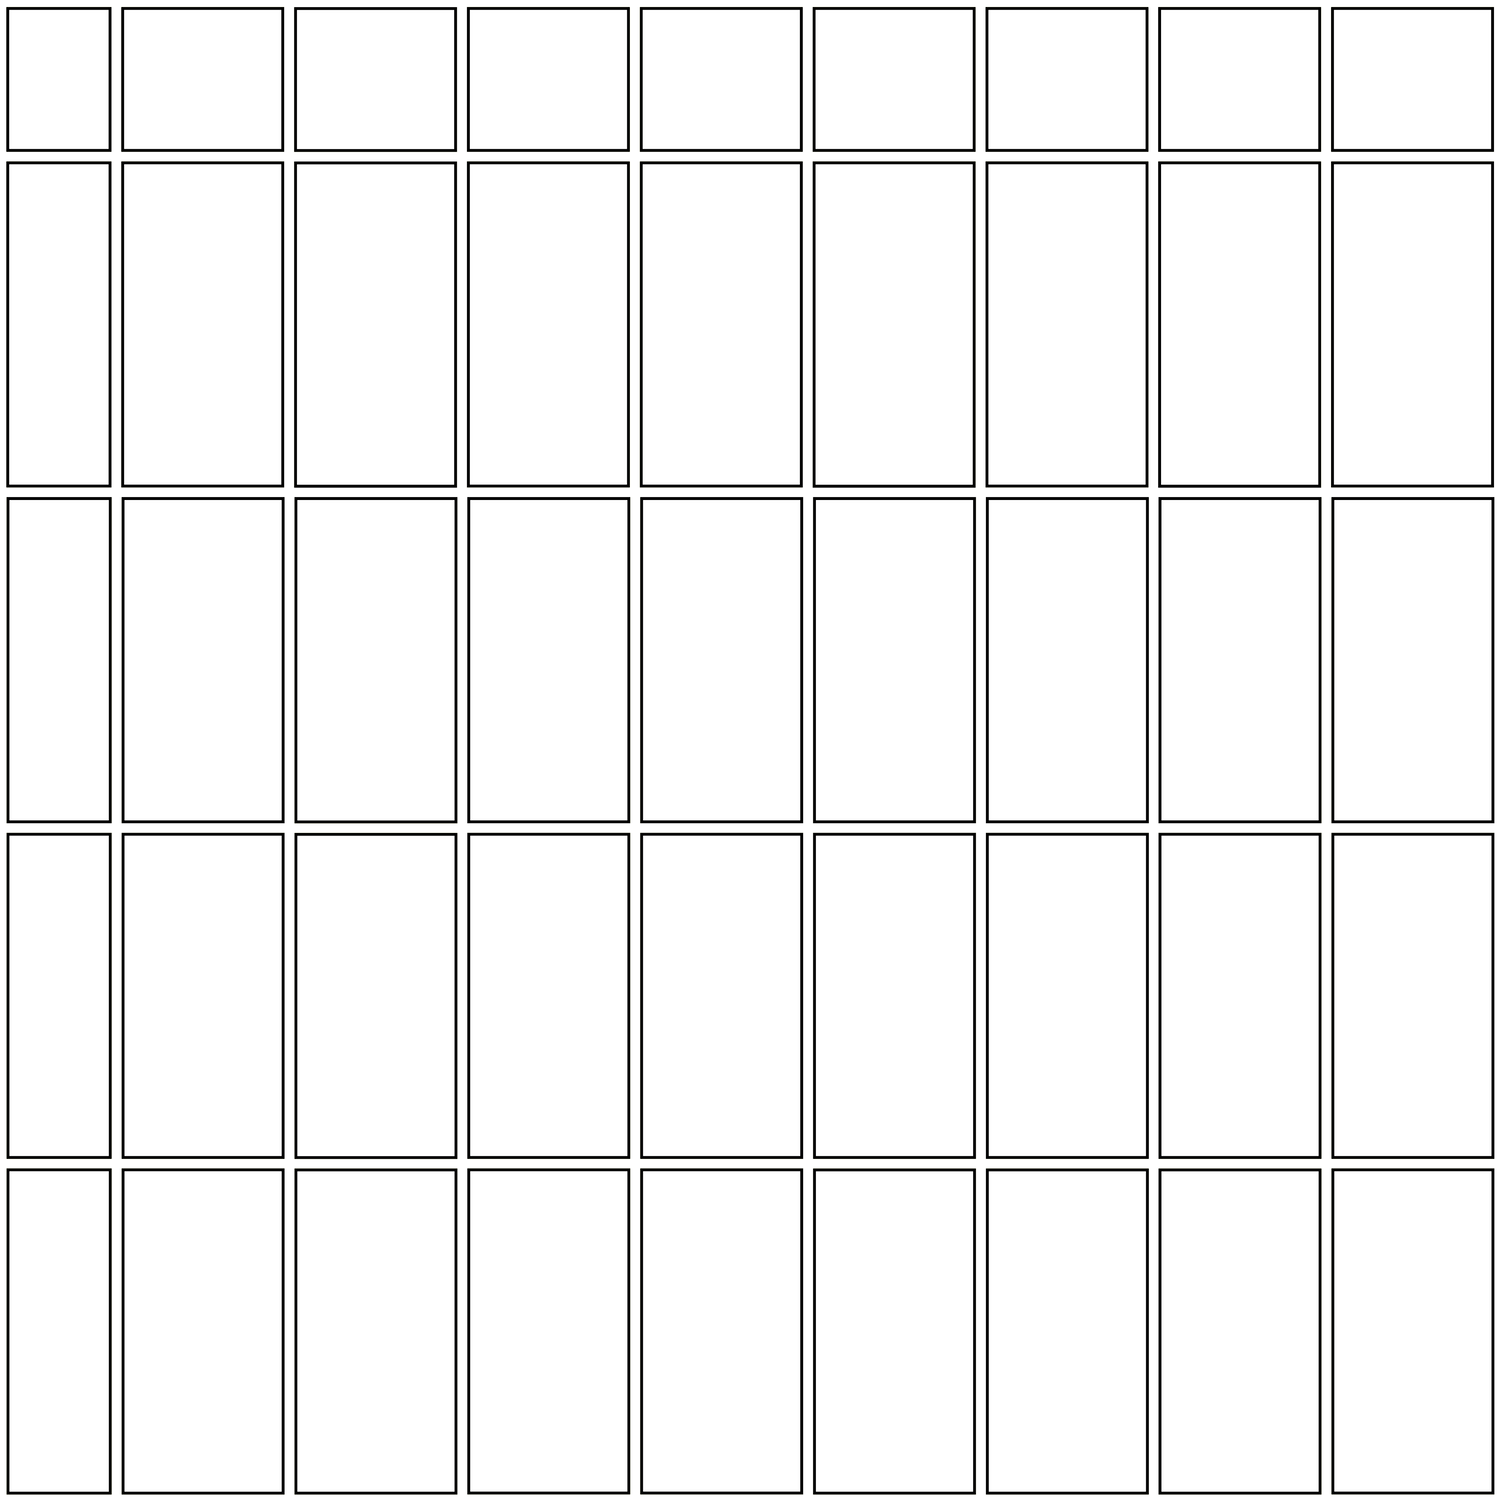
Clean, structured, and modern — tiles are stacked directly on top of one another in a vertical column. This pattern enhances height and is ideal for smaller rooms or feature walls where you want a sleek, minimal look.
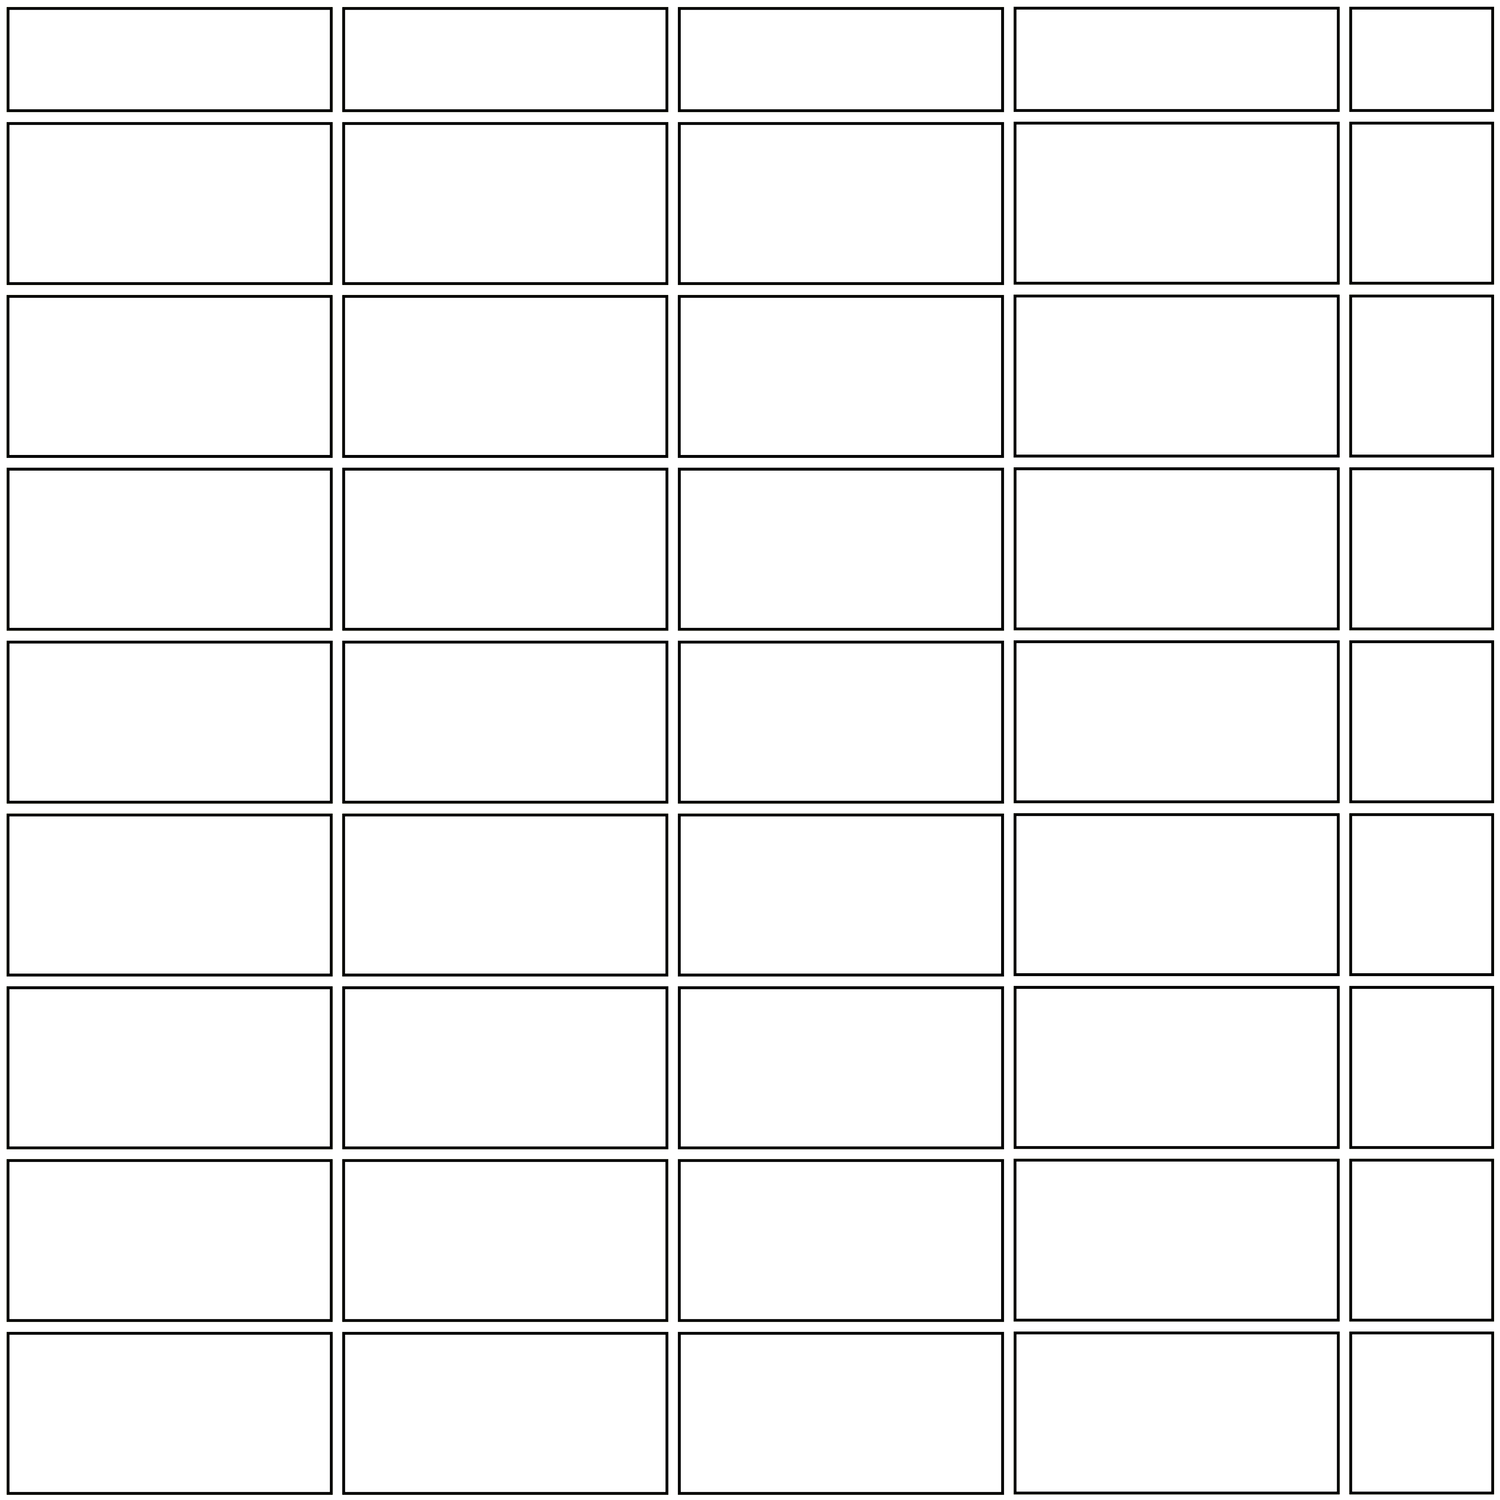
A straightforward, streamlined look where tiles are stacked directly in horizontal rows. This layout is great for emphasising width and creating a calm, orderly finish — ideal for splashbacks and feature walls.
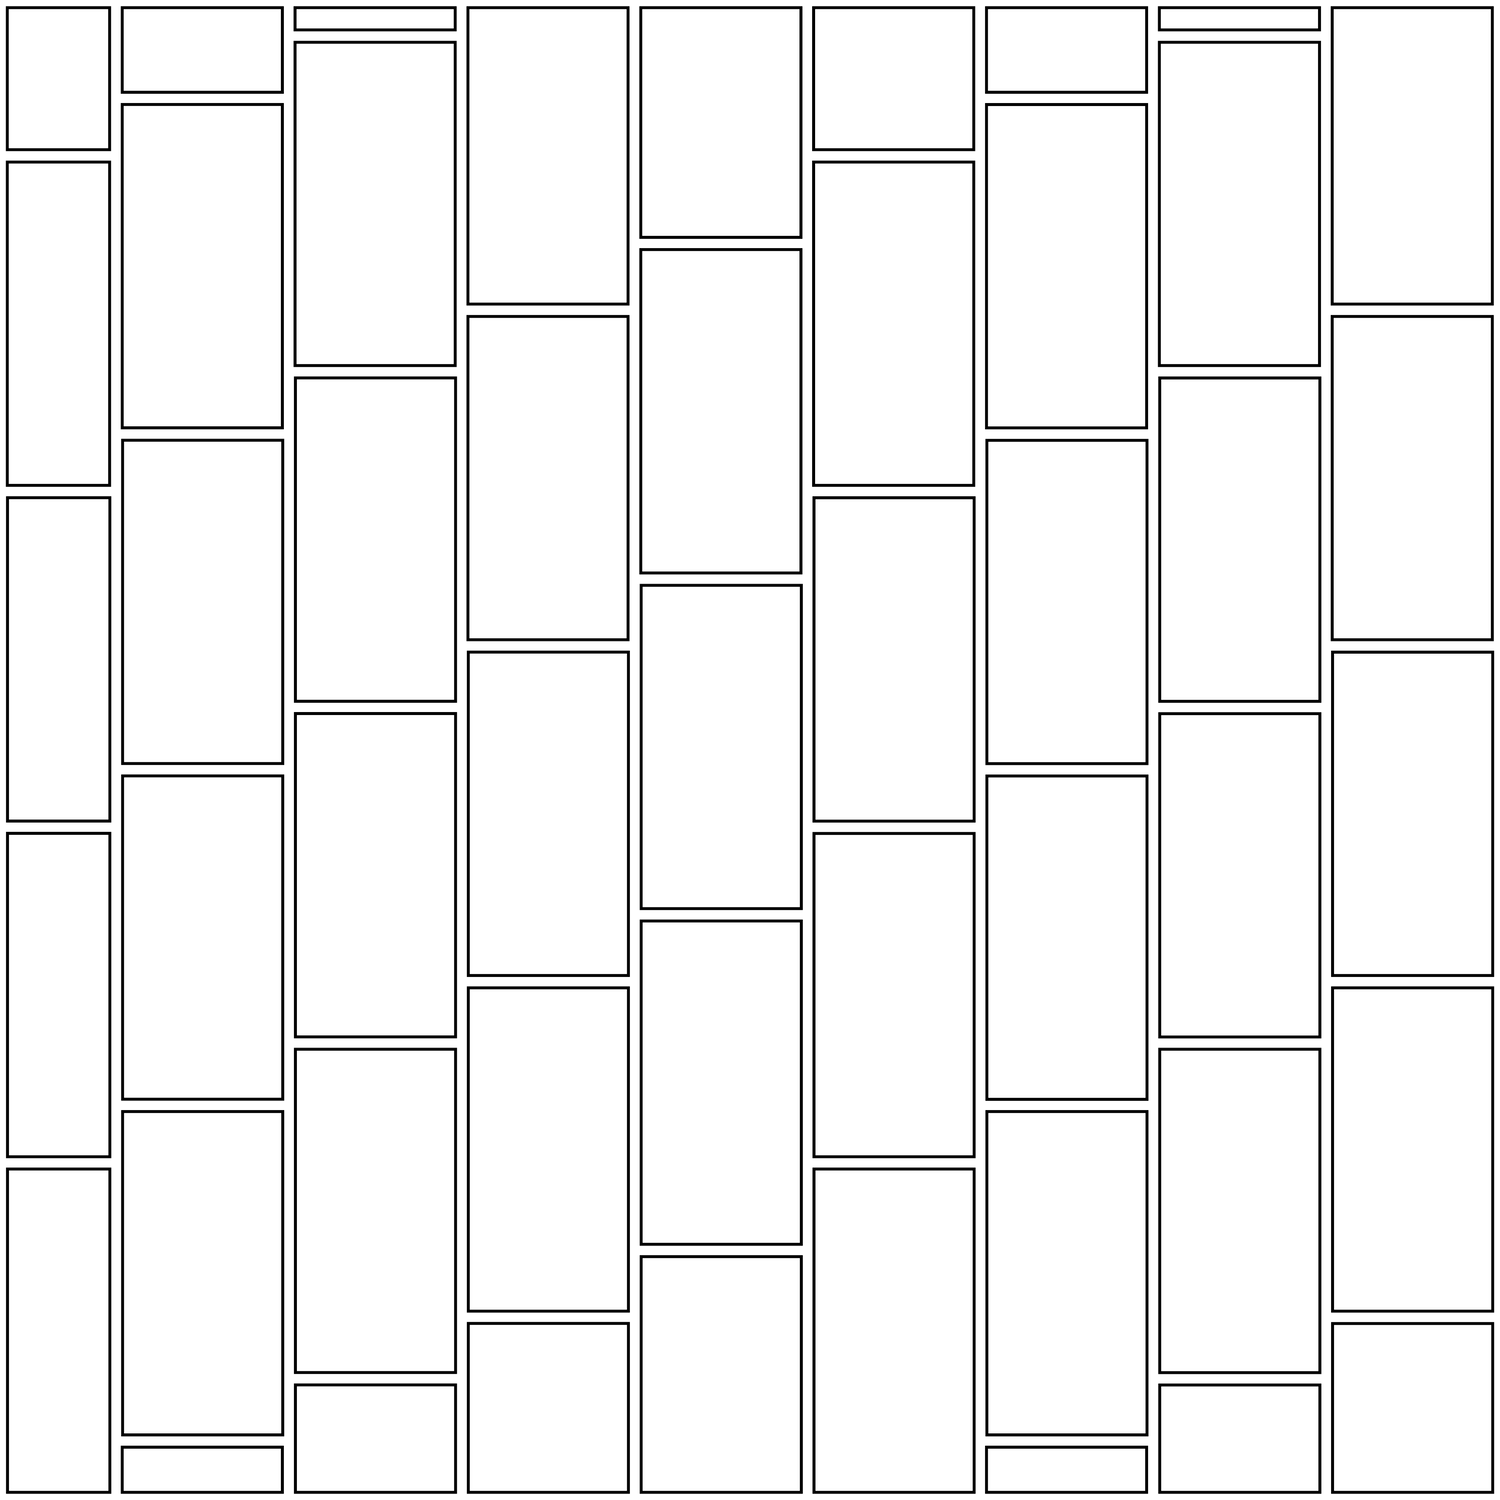
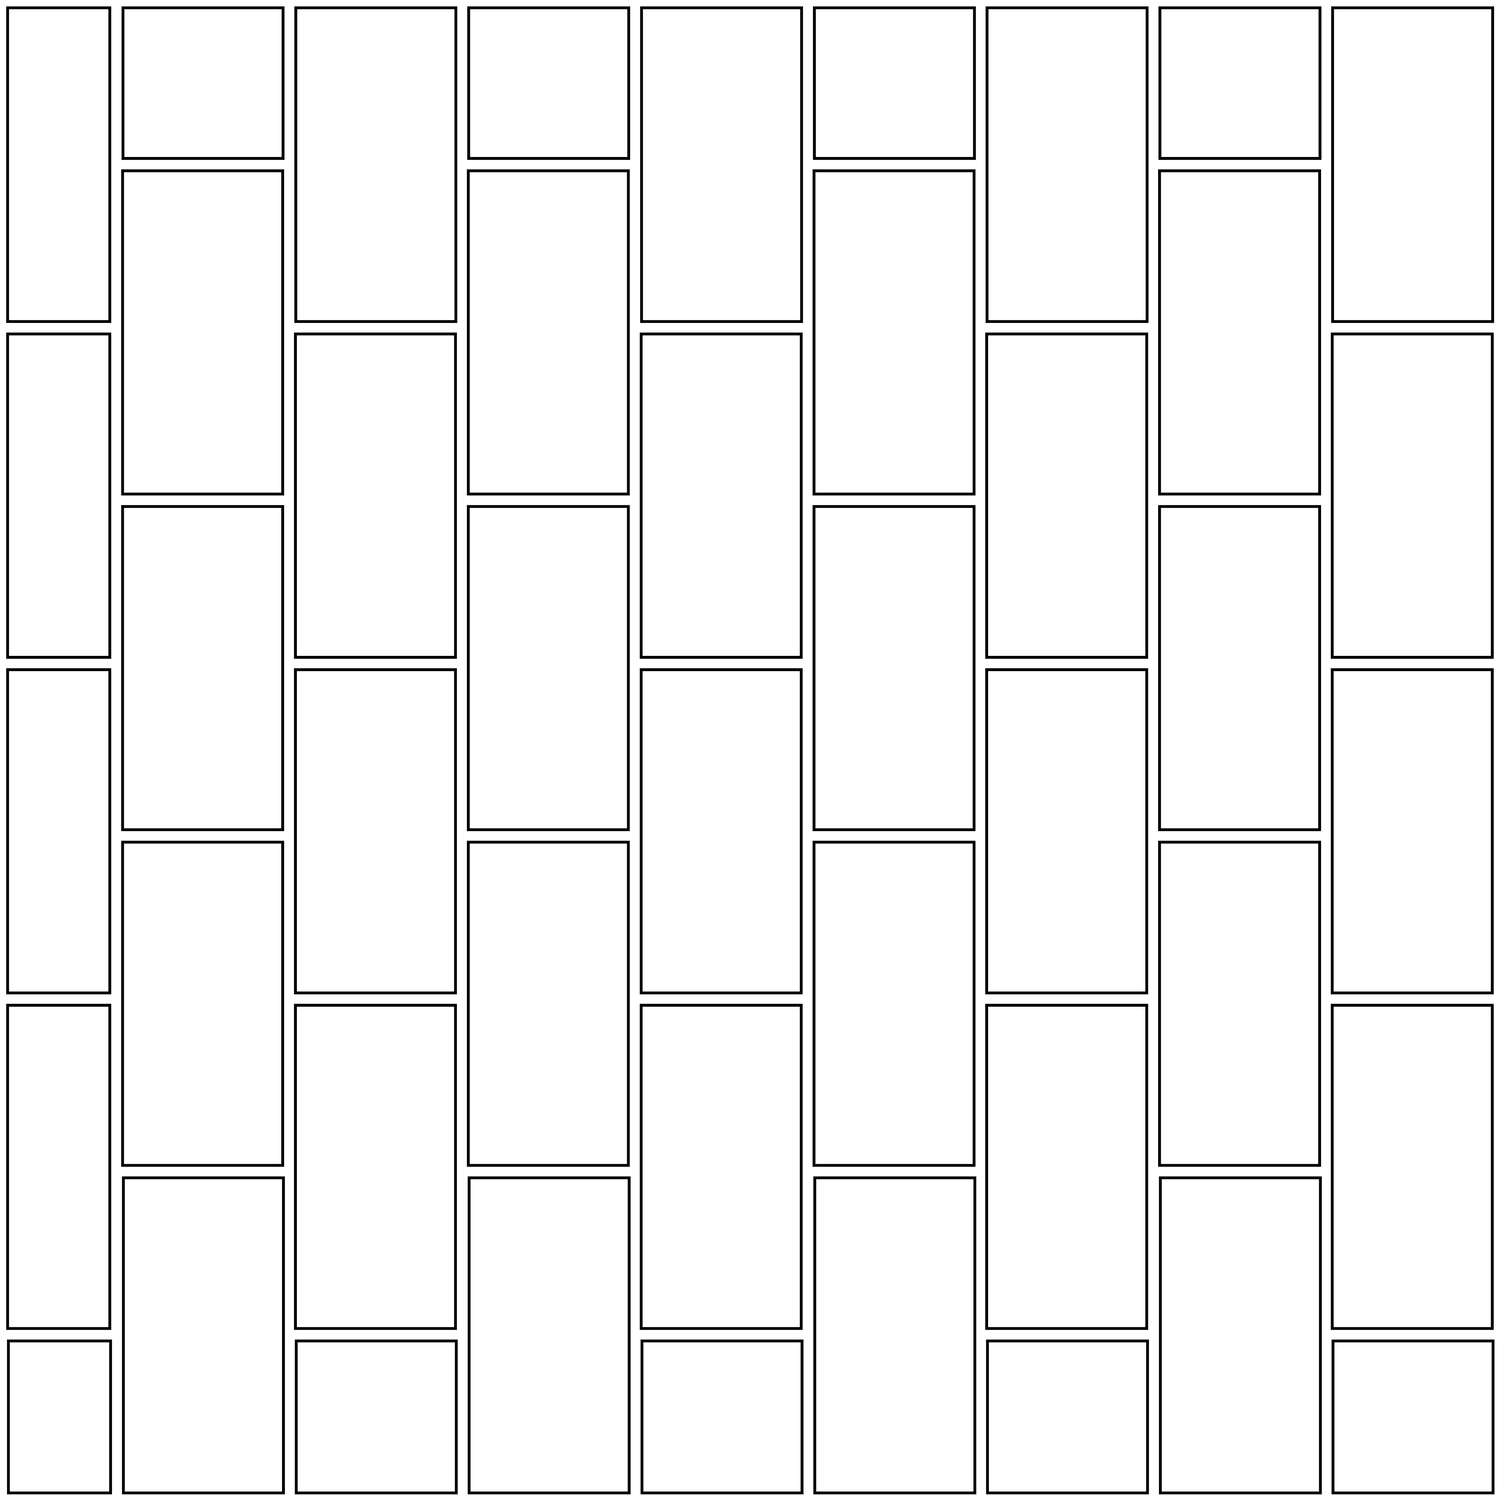
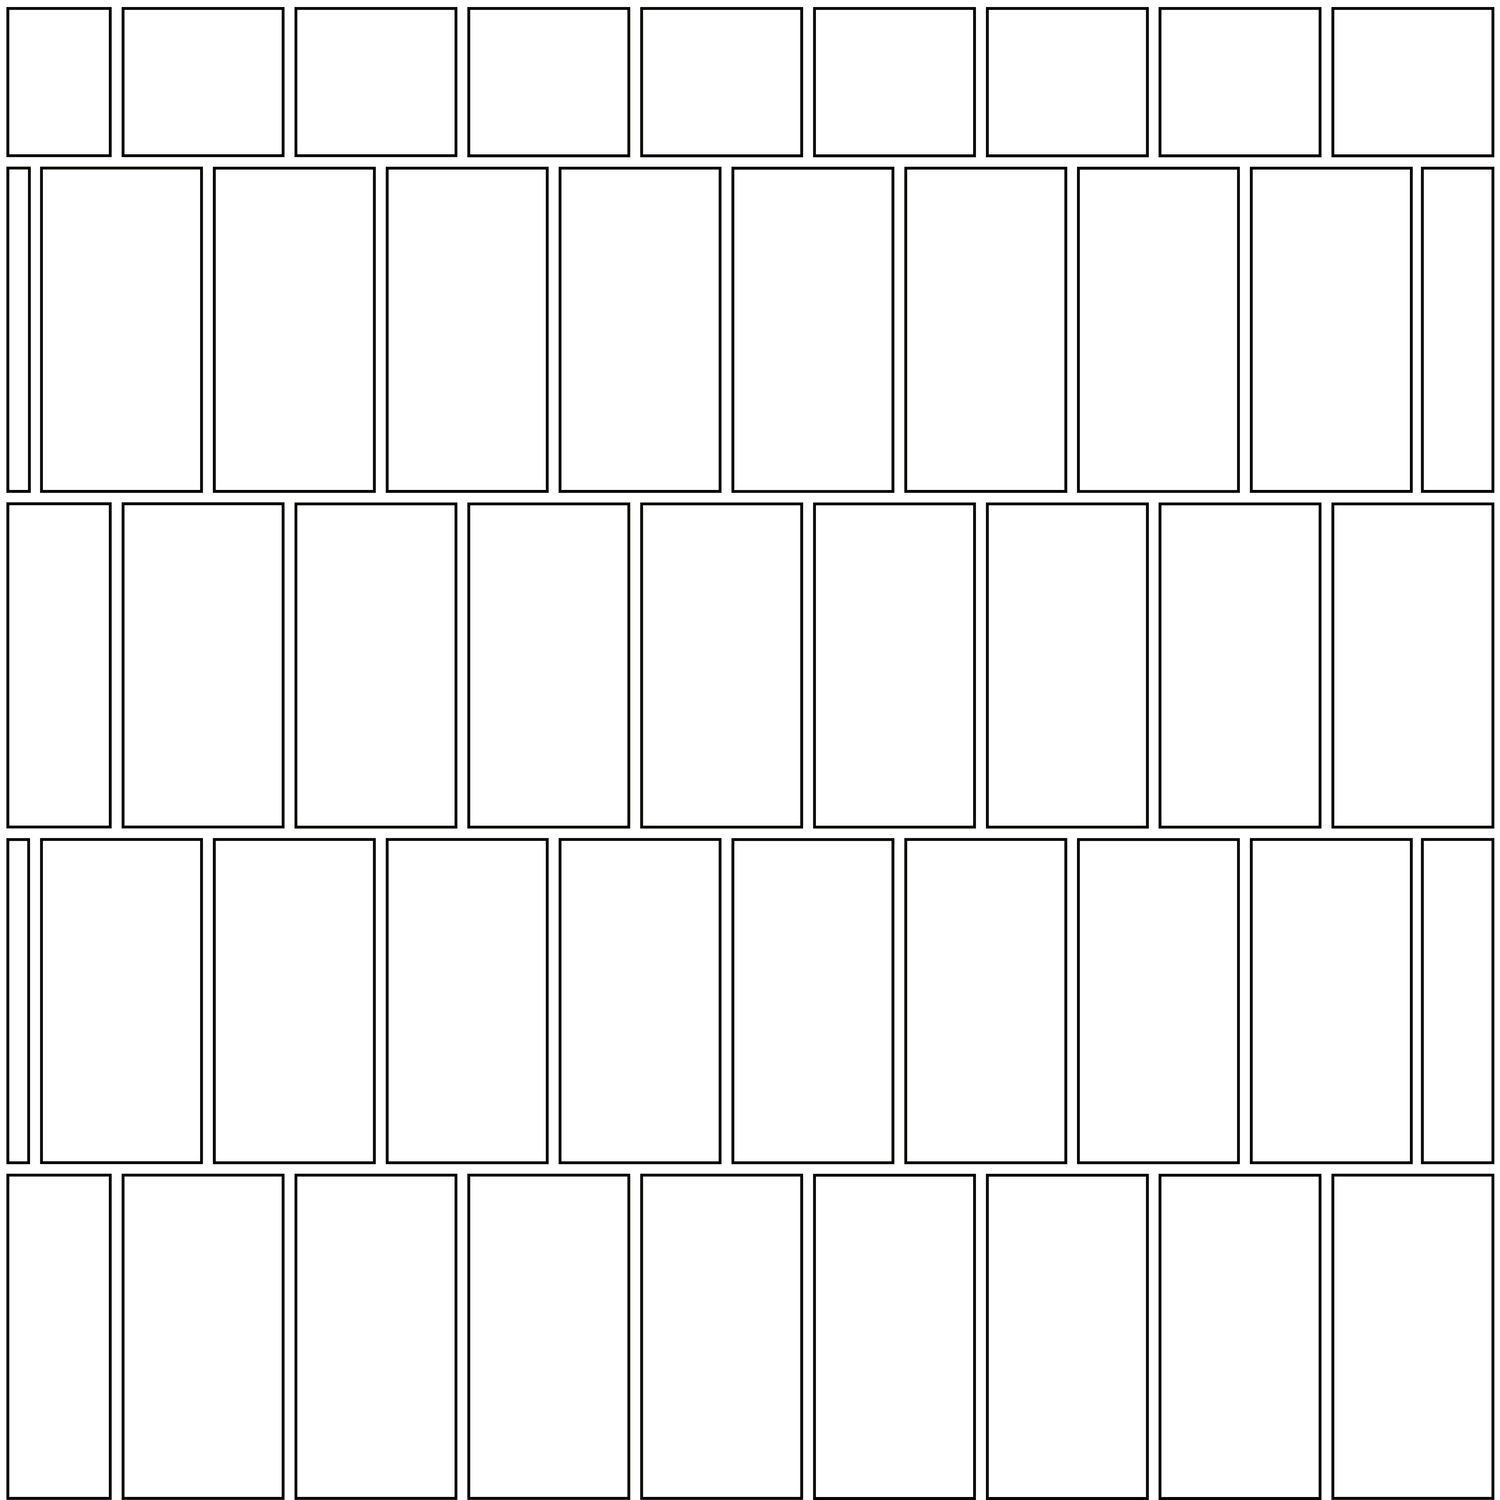
Take the clean look of a vertical stack and offset each row for a modern update. This design introduces a subtle texture and works beautifully in full-height tiled walls, bringing both flow and contrast to contemporary bathrooms or kitchens.
Similar to Offset Brick but with a stacked start — each row is gently offset to build subtle variation. This look keeps the layout classic while adding a touch of modern charm, perfect for laundry splashbacks or understated bathrooms.